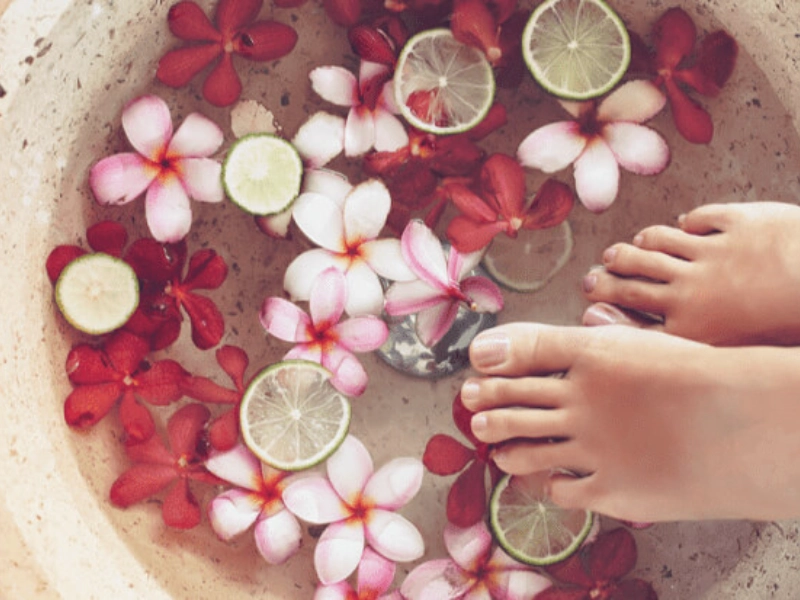
The Ultimate At-Home Pedicure for Fabulous Feet
4. Paint Toenails

Painting your toenails marks the most interesting phase of your pedicure now that your feet are exfoliated, moistened, and your nails are fully ready. This stage lets you show your own flair and give your feet a little flash of colour. Whether your taste is for refined neutrals, modern neons, or classic reds, the secret to a perfect pedicure is your application method and the items you use.
Make sure your supplies are fully ready before starting to paint. If you have some toe separators, you will also need cotton pads, a base coat, your selected color—or colours, a top coat, and nail paint remover. Although not necessary, toe separators can be quite useful in helping you to paint more precisely and in preventing smudges.
First, give your nails one last polish remover wipe. This gets rid of any last oils or debris from your nails, thereby avoiding improper adherence of the polish. After your nails are dried and clean, dab on a small coating of base coat. The base coat helps the colour stick better to your nails, eliminates staining—especially crucial if you're using dark colors—and can even assist to level any ridges or flaws in your nail surface. Before working on colour application, let the base coat dry totally.
Regarding your nail colour, take into account your own style as well as what best accentuates your skin tone. Generally speaking, darker skin tones look great for corals, oranges, and vibrant colours, thereby producing a lovely contrast. Deep reds, blues, and purples can especially accentuate lighter skin tones. These are only rules, though; the most crucial thing is to pick a colour that will make you happy and confident.
Apply the colour starting with a thin, uniform coat. Start by lightly pushing the brush towards the tip of your nail from a tiny drop of polish at the base of your nail, close to the cuticle. In three strokes, try to cover the whole nail—one down the middle and one on each side. This method reduces streaking and guarantees even covering. Let the first coat dry a few minutes before adding a second application to every one of your toes. Generally speaking, two thinner coats cover more ground and last longer than one thicker coat.
Should you find yourself artistic, you could choose to experiment with nail art. This might be as basic as adding a glitter accent nail or as complicated as designing with several colours. If you're fresh to nail art, start with something basic like dots or stripes. Using the end of a bobby pin or a toothpick, you can form dots; a toothpick can be used as a guide to construct stripes from thin strips of tape.
Your colour application and any nail art should satisfy you; now it's time for the top coat. Extensive life of your pedicure and chip prevention depend on a suitable top coat. It also lends gloss and may even make your colour seem more vivid. Apply the top coat using the same technique as your colour; dragging the brush down the tip will "seal" the free edge of your nail.
If you make any errors during the painting process, relax. Any polish that has wound up on your skin can be cleaned using a little brush dipped in nail paint remover. Alternatively, bathe your feet in warm water for a few minutes once your nails have totally dried. While the lacquer on your nails stays in place, any polish you use on your skin will flake off readily.
Recall that, when it comes to nail painting, experience makes perfect. If your first efforts aren't salon-perfect, don't let that discourage you. Beautiful, professional-looking pedicues right in the comfort of your own house will come from your developing stable hands and techniques that fit you with time and practice.
Advertisement
You May Like