The Ultimate At-Home Pedicure for Fabulous Feet
3. Prepare Toenails
It's time to focus on your toenails once your feet are exfoliated and moistened. Maintaining the health of your nails and surrounding skin as well as a polished, professional-looking pedicure depend on correct nail preparation. Managing your cuticles, structuring your nails, and smoothing your surface for polish application comprise three crucial steps here.
Let's first address cuticle care. The tiny layer of skin called the cuticle at the base of your nail shields the nail matrix—where your nail grows from—from germs and diseases. Although cutting away this skin could be tempting, gently pushing it back is actually far safer and healthier. You will need a cuticle stick—also called an orange stick—to accomplish this. Usually constructed of either metal or wood, these feature a flat, angled end ideal for this work.
Softening the cuticles more will help you use the cuticle stick. Applying a tiny bit of cuticle oil or cream to every nail and allowing it sit for a few minutes will help you do this. This will make the cuticles more flexible and less likely to rip or break under the pushing action. Using the flat end of the cuticle stick, gently press the cuticles back once they have relaxed. Apply gentle pressure while working gently and deliberately to prevent creating any injury or pain. Your nails seem longer and your nail beds seem tidy and more defined when you push back the cuticles.
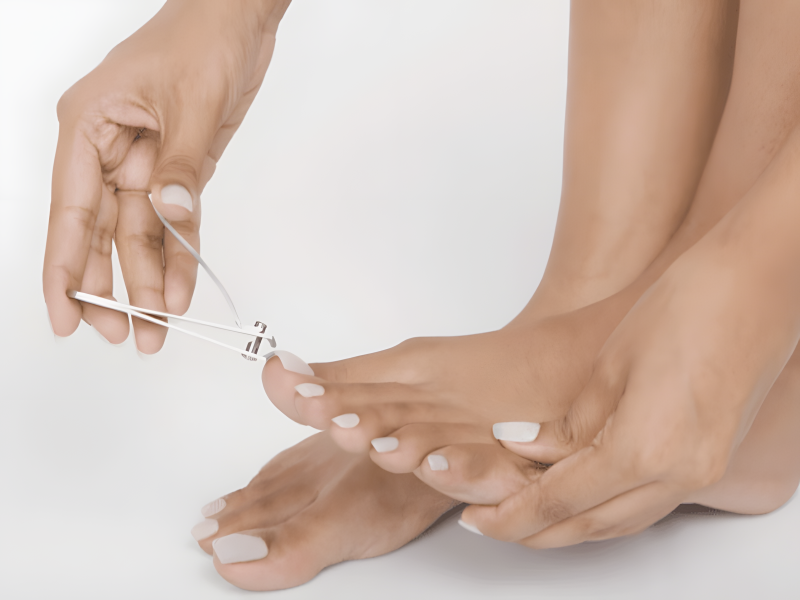
If you find any loose bits of skin or hangnails around your nails, fight the want to bite them off. To precisely clip them away, instead use a pair of neat, sharp cuticle nippers. Exercise great caution when doing this to prevent infecting live skin by cutting into it.
It's time then to shape your nails. Regarding toenails, the usual advice is to cut them straight across rather than in a curved shape. This helps avoid ingrown toenails, which could be uncomfortable and maybe cause an infection. Use scissors especially meant for this or a pair of toenails clippers. Fingernail clippers should not be used on your toes since they are usually not strong enough to cut through the thicker toenails sufficiently.
Clip your nails such that they are just marginally longer than the tip of your toe. Cutting them too short runs the danger of causing pain or even ingrown nails. Smoothe any sharp edges with a nail file following clipping. File one direction instead than back and forth to help avoid nail splitting and peeling. Typically referred to as a "squoval," go for a somewhat rounded square form. This combines the aesthetically attractive aspect of somewhat rounded corners with the ingrown-preventing advantages of a square form.
Buffing comes last in nail preparation. Usually including variable grit levels and sides, a nail buffer Starting on the coarsest side, work to flatten any ridges or unevenness on the nail surface. Proceed then to the finer grit sides to provide a glossy, smooth finish. Buffing not only gives your nails a natural gloss but also provides the perfect surface for applying nail polish, thereby enabling better adhesion and longer lifetime of the lacquer.
Remember, you have to be delicate and patient even as you get ready for your nails. Using too much force or rushing through these stages could ruin your nails and surrounding skin. Spend some time gently treating your nails. The end effect will be better, more appealing toenails that offer the ideal canvas for the selected nail colour.
Advertisement
You May Like